Winter is hard on commercial floors. By the time March arrives, most facility managers are looking at a season’s worth of salt haze, ice-melt residue, and a dull, scratched floor finish that took a beating from foot traffic, boots, and the relentless freeze-thaw cycle. The good news is that restoring your floors to a clean, polished baseline is straightforward — as long as you follow the right steps in the right order.
This guide walks through the process of getting your commercial floors back to their best after winter, from removing stubborn ice-melt residue to reapplying floor finish to protecting your investment through the spring and summer ahead.
Why Winter Floor Damage Happens
Calcium chloride and magnesium chloride are the two most common active ingredients in commercial ice melt products. They work by lowering the freezing point of water, which is exactly what you want on a parking lot or sidewalk. The problem is that those same chloride compounds get tracked inside on boots and equipment, and they do not stay neatly on the entrance mat.
Over time, chloride residue migrates deep into your building. It leaves a white haze on hard floors, breaks down floor finish, penetrates carpet fibers, and can cause long-term damage to grout and tile if left untreated. The standard mop-and-bucket routine is not enough to lift it, because the chemistry of chloride residue requires a chelating agent to break the bond between the salt and your floor surface.
Getting your floors truly clean after winter means addressing the chemistry, not just the appearance.
Step 1: Start with the Right Floor Cleaner
Before you strip or recoat anything, you need to remove the residue that has built up over the winter. This is where a dedicated ice melt remover earns its place in your chemical lineup.
Products like Spartan’s floor neutralizers and chelating-based floor cleaners are formulated to chemically suspend chloride and salt residue so it can be rinsed away cleanly rather than just redistributed across the floor. Look for a pH-neutral or low-pH formula that is safe for your existing floor finish and will not further dull the surface during cleaning.
Recommended approach:
- Mix your floor cleaner at the correct dilution rate for residue removal
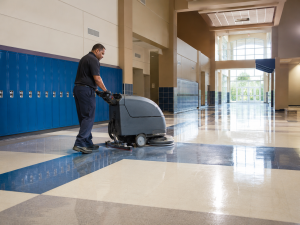
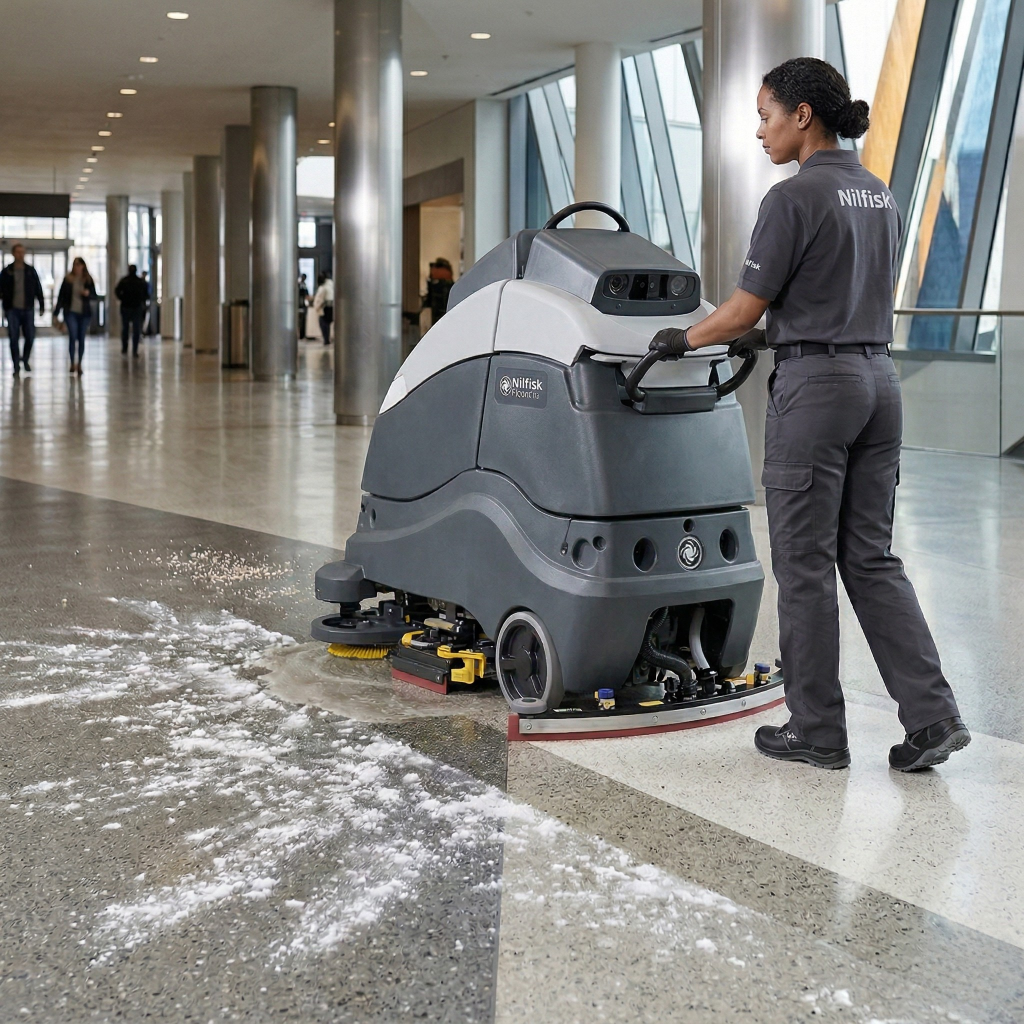
- Apply with a wet mop or an auto scrubber on a scrub-and-squeegee pass
- Allow appropriate dwell time as specified by the product label
- Extract and rinse thoroughly to prevent re-depositing dissolved residue
One common mistake at this stage is skipping the rinse pass. If you leave even a light film of diluted salt solution on the floor, it will dry right back into a haze. Take the time to rinse.
Step 2: Assess Your Floor Finish
Once the residue is gone, you can get an honest look at the condition of your floor finish. Winter foot traffic is brutal on finish layers. Heavy boots, grit, and the abrasive effect of tracked-in salt all accelerate wear, and by spring, most high-traffic floors need at least a burnish and a maintenance coat, if not a partial or full strip and recoat.
Signs your floor finish needs attention:
- Visible scuff marks and black heel marks that burnishing cannot remove
- A flat, dull appearance even after cleaning
- Uneven sheen across different areas of the floor
- Yellow or brown discoloration in the finish layer
- Flaking or peeling in heavily worn areas
If your finish is simply dull, a high-speed burnish, followed by one or two coats of a quality floor finish, is often all you need. Products like Spartan iShine or Diversey Vectra are designed for exactly this kind of maintenance program, providing a high-gloss, durable surface that resists scuffing and holds up through the warmer months.
If the finish is heavily worn, yellowed, or damaged, a full strip and recoat is the right call. It takes more time upfront, but it protects your floor and reduces the need for interim touch-ups throughout the year.
Step 3: Strip and Recoat When Necessary
Stripping floor finish is a labor-intensive process, but it is not complicated with the right products and equipment. Here is the basic workflow:
- Apply a strip solution at the appropriate dilution. For heavily waxed or buildup-prone floors, a more dilute solution is needed. Allow it to dwell according to the product directions.
- Agitate with an auto scrubber or floor machine fitted with a stripping pad. Work in manageable sections to prevent the strip solution from drying on the floor.
- Wet-vac or squeegee the slurry before it dries and redeposits.
- Rinse thoroughly with clean water. A residual stripper will prevent the floor finish from adhering properly.
- Allow the floor to dry completely before applying the finish.
- Apply floor finish in thin, even coats, allowing each coat to dry fully before applying the next. Two to four coats are standard for most commercial applications.
Your LBC sales rep can help you select the right strip solution and floor finish combination for your floor type, square footage, and traffic level. The product pairing matters more than most people realize.
Step 4: Address Carpet Residue
If your building has carpet in lobbies, corridors, or common areas, it almost certainly has ice-melt residue worked into the fibers from months of foot traffic. That residue dulls the carpet’s appearance, creates a stiff, crunchy feel in the pile, and can contribute to faster re-soiling because chloride residue is hygroscopic — it attracts moisture, which attracts dirt.
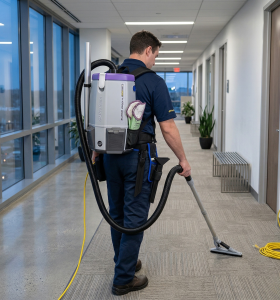
A carpet extractor with a specialized ice melt removal chemical is the most effective solution. The chelating chemistry lifts the chloride out of the fiber rather than just wetting and re-drying it in place. This is one area where the right product makes a significant visible difference on the first pass.
Step 5: Protect Your Work
Once your floors are restored, the goal is to maintain that baseline as long as possible. A few habits make a real difference:
- Change entrance mats more frequently during the spring mud season, when the transition from wet to dry tracking shifts from salt to soil and moisture.
- Establish a burnishing schedule for high-gloss VCT and vinyl floors. Regular burnishing extends finish life and reduces the frequency of maintenance coats.
- Train cleaning staff on dilution rates. Using a floor cleaner that is too concentrated is one of the most common causes of premature finish breakdown.
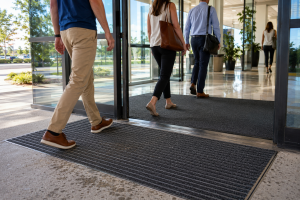
- Inspect and replenish entrance mats. Matting is your first line of defense. A properly sized, high-quality entrance mat system can capture up to 80% of tracked-in soil before it ever reaches your hard floor surfaces.
Common Mistakes to Avoid
Using the wrong mop or pad. A dirty mop head or worn-out pad spreads residue rather than removing it. Replace mop heads frequently and use the correct pad type for each task.
Skipping the rinse pass. This one bears repeating. Residue left behind during cleaning will reappear as soon as the floor dries.
Applying floor finish over contaminated floors. Finish applied over residue or stripper will not bond properly and will quickly peel, yellow, or develop an uneven sheen.
Burnishing too aggressively on a thin finish layer. If you have only one or two coats of finish on the floor, heavy burnishing can cut through to the substrate. Know your finish depth before you burnish.
Frequently Asked Questions
How often should commercial floors be stripped and recoated? For most mid-traffic commercial floors, a full strip-and-recoat once per year is standard. High-traffic areas such as lobbies, cafeterias, and main corridors may benefit from twice-yearly strip-and-recoat cycles, with maintenance coats applied every two to three months in between.
What is the best way to remove ice melt residue from tile grout? Grout is porous and can hold chloride residue more stubbornly than the tile surface itself. A slightly acidic cleaner applied with a stiff grout brush, followed by a thorough rinse, is usually effective. For heavy accumulation, a professional extraction using a floor scrubber with a grout brush attachment works well.
Can I apply floor finish to LVT (luxury vinyl tile)? Yes, but not all floor finishes are formulated for LVT. Look for products labeled as safe for vinyl plank and LVT surfaces. Using a finish not designed for LVT can cause adhesion problems, yellowing, or surface damage. Ask your LBC rep for a recommendation.
How many coats of floor finish should I apply? The standard is three to five coats for most commercial applications. Each coat should be thin and even, and should dry completely before the next coat is applied. Thick coats trap moisture, resulting in a soft, easily scratched finish.
My auto scrubber is leaving streaks. What is causing that? Streaking is usually caused by a dirty or worn squeegee blade, an incorrect water level in the recovery tank, or a floor cleaner that is generating too much foam. Check the squeegee blade condition first, as this is the most common culprit.
Commercial floor care after winter is not just about appearance. A well-maintained floor is safer underfoot, lasts longer, and reflects the professionalism your building represents to everyone who walks through the door. The steps in this guide — remove residue, assess the finish, restore or recoat, address carpet, and protect your work — provide a repeatable process for coming out of every winter with floors that look and perform at their best.
The team at Leonard Brush & Chemical has been helping Louisville facilities managers maintain their floors since 1879. We carry floor cleaners, finishes, strippers, carpet extraction chemicals, and the equipment to apply them all from trusted suppliers, including Spartan, Diversey, and ProTeam.
Contact our team at 502-585-2381 or visit leonardbrushandchemical.com to get product recommendations matched to your floor type, square footage, and budget.